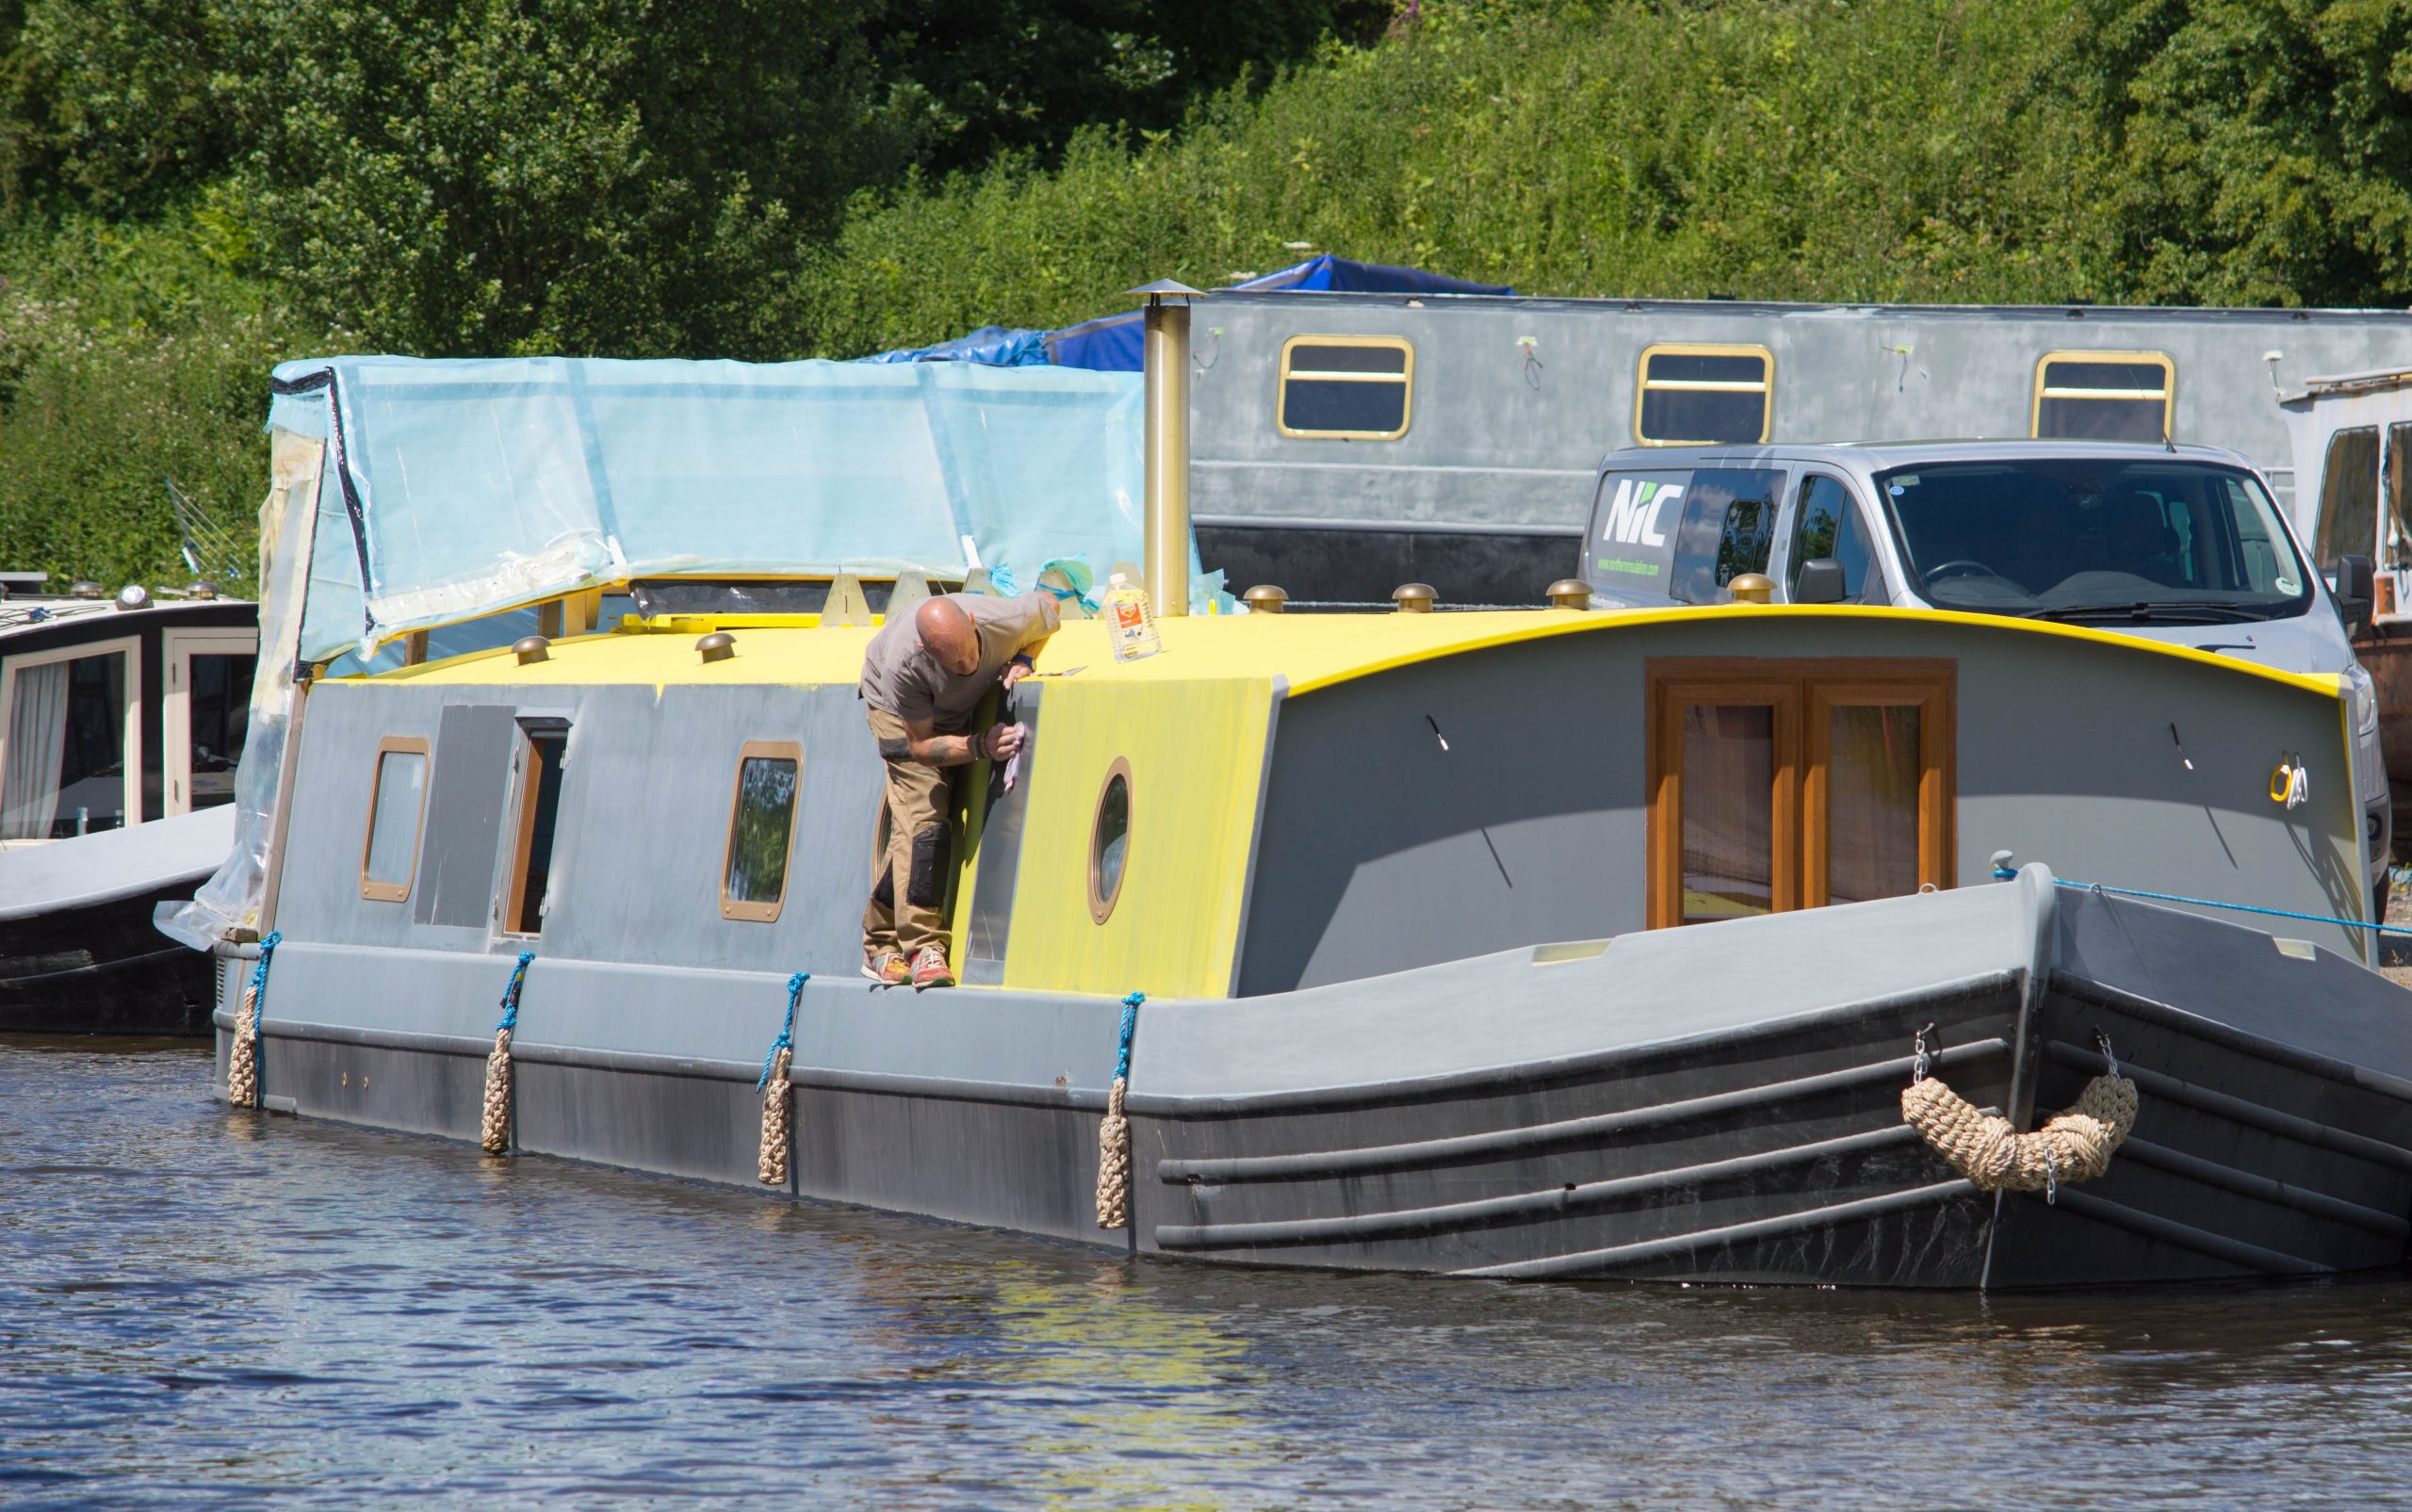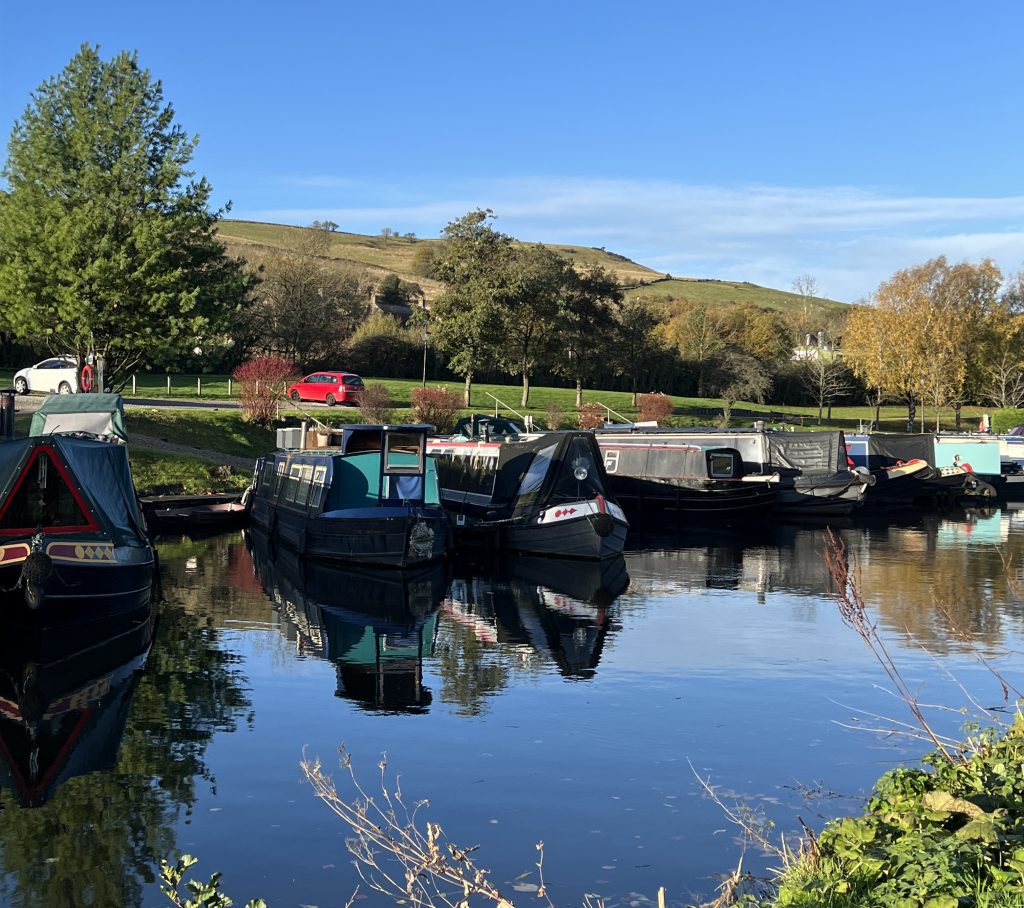
There’s no feeling quite like taking a boat down a river or canal. A light breeze, sunshine and minimal traffic, there’s nothing with wheels that can give you the same experience.
Narrowboats are not just a relaxing way to travel but are a fantastic way to express your artistic side too. Take a trip to your local canal and you’ll see dozens of brightly painted barges shining in the afternoon sun. They can be solid colours or something bolder, even adding decals and artwork to the sides.
But how do you paint a narrowboat? Well, Paintmaster are here again to explain all you need to know about painting narrowboats and barges.
The Best Paint for Narrowboats
Paint and water don’t mix well. Apply a fresh coat of acrylic to your boat and you’ll soon be disappointed. Even exterior paint that is weather resistant isn’t ideal for the sides of your boat, as the constant lapping of a choppy current will soon ruin the finish and send you back to square one.
Paintmaster’s hard-wearing enamel gloss is perfect for barges. It is oil based, making it fully resistant to water and even the harshest winter weather. You’ll have a great finish that will last a long time, but to get the most out of your topcoat, you also need a quality primer.
A few coats of marine primer will help your paint last longer and give it a better overall finish. Primer is essential for all professional painting projects and gives you an extra year or two before you need a fresh coat of paint.

Painting a narrowboat can be tricky, you need the perfect paint and primer!
When’s the Best Time to Paint a Narrowboat?
Like most outdoor painting, you’re at the mercy of the elements and have to choose your painting and priming days well. An undercoat of primer and multiple coats of paint need a lot of time to dry, so you need at least a free weekend with a good weather forecast.
For the best results, you want the temperature to be between 12° and 20° with a light breeze. More wind will dry your coats faster but can lead to streaks when painting.
Just as important is to make sure your narrowboat or barge is as clean as possible before you start painting. Even a thin layer of dust will ruin the final finish no matter how many coats you use. Choose where you do your painting carefully too, away from trees and bushes that can drop debris into your drying paint.
How to Prepare a Narrowboat for Painting
Unlike the other painting projects we’ve talked about in our blogs, barges and narrowboats need special attention before they can be painted.
We’ve already mentioned how cleaning is important before you pick up a brush, but exactly how do you clean a narrowboat? The answer depends on the material you’re applying paint to.
Bare Steel
STEP 1 – If your boat hasn’t been painted before, the steel can be shot blast clean. If this isn’t possible, use a wire brush or sandpaper for the same result, which will just take longer. This will remove as much rust as possible, giving you the best surface to work with.
STEP 2 – Next, use a water-based degreaser to remove dirt and grime from the steel. Once it’s worked its magic, clean it off thoroughly. Solvent cleaners aren’t recommended for boats.
STEP 3 – Apply your primer above the water line of the hull and leave it to dry. As soon as that’s done, you’re ready to start painting.
No matter where your boat is, from London to Venice, it deserves to look great!
Previously Painted Surfaces
STEP 1 – Clean off the previous layer of paint. This will not only make painting and priming easier, but also will reveal any rust that needs to be removed. If there is too much to deal with yourself, consider getting your boat professionally blasted and/or painted.
STEP 2 – Scrub away any names and lines to avoid them being visible through your fresh coat of paint.
STEP 3 – Apply your primer. If the surface is uneven, use an extra coat or two to smooth it out. You can also use wet and dry paper to smooth it further before applying your paint.
How to Paint a Narrowboat
Once the surfaces are cleaned and primed, it’s time for the fun part.
For each coat we recommend a new, high-quality paintbrush. We have some in stock right now that would be perfect (hint hint). A large brush, about 3 inches is ideal as you’ll be covering large areas and need to overlap each stroke for an even finish. Gloss rollers work well too.
Use masking tape to cover the edges of the surface, plus any space you don’t want painting. This will not only prevent overlap but give you those sharp lines that will make the new paint really stand out.
The number of layers of paint you need will vary. If you’re using primer plus an undercoat, 2-3 layers will be plenty. Pick up an extra tin of paint so you have some spare if an additional layer is needed.
Paintmaster always recommends painting a smaller, inconspicuous area first. This will not only give new painters some useful practice but will also tell you exactly how many layers you’ll need for the other surfaces. There’s no worse feeling than getting 90% through a project and having to order more paint. It’s costly and can turn a 2-day job into a multi-week nightmare.
Apply 1-2 layers of undercoat after your primer may seem like a hassle and does make the job take longer. However, the results speak for themselves, and will mean your barge or narrowboat will look great for much longer.
You need a few coats of paint and primer to get the best finish
Here’s a shorter breakdown of how to paint a barge or narrowboat:
- Clean the surface
- Apply primer (1-2 coats on average)
- Use masking tape to mark the edges
- Apply an undercoat (1-3 layers)
- Paint each section (2-3 layers on average)
Since you’ll most likely be painting outside, we recommend getting an extra pair of hands to help. The paint will dry faster than usual, one extra person will ensure an even finish as you overlap each line or stroke.
Once it’s done, take a step back and admire your work. We hope it looks great!
More about Boat Painting
Use Paintmaster’s Marine Primer paint to give your trusty boat the freshen up it deserves. For more painting guides, you can check out our other blogs for tips, tricks, and advice for all painting projects.
If you have any questions about us or any of our products, please don’t hesitate to get in touch.
We look forward to hearing from you!
FAQ's
Does marine paint need primer?
Marine paint is designed to cling to the boat’s underside, meaning a primer is not necessary. However, our specialist marine primer will extend the lifespan of your paint, saving you money in the long run.
How many coats of paint on a narrowboat?
We recommend 2-3 coats of marine paint after a layer of our marine primer. This will guarantee maximum protection, keeping your boat looking better for longer.
What is the difference between marine paint and regular paint?
Regular paint is not designed to resist water and mildew, whereas marine paint was created with that protection as a priority.
What kind of paint do you use on a narrowboat?
For narrowboats and barges, two gloss coats of metal or marine paint will help them to look good and protect the surface for a long time. Other paints won’t stick to the surface and will run off or flake away soon after painting.
