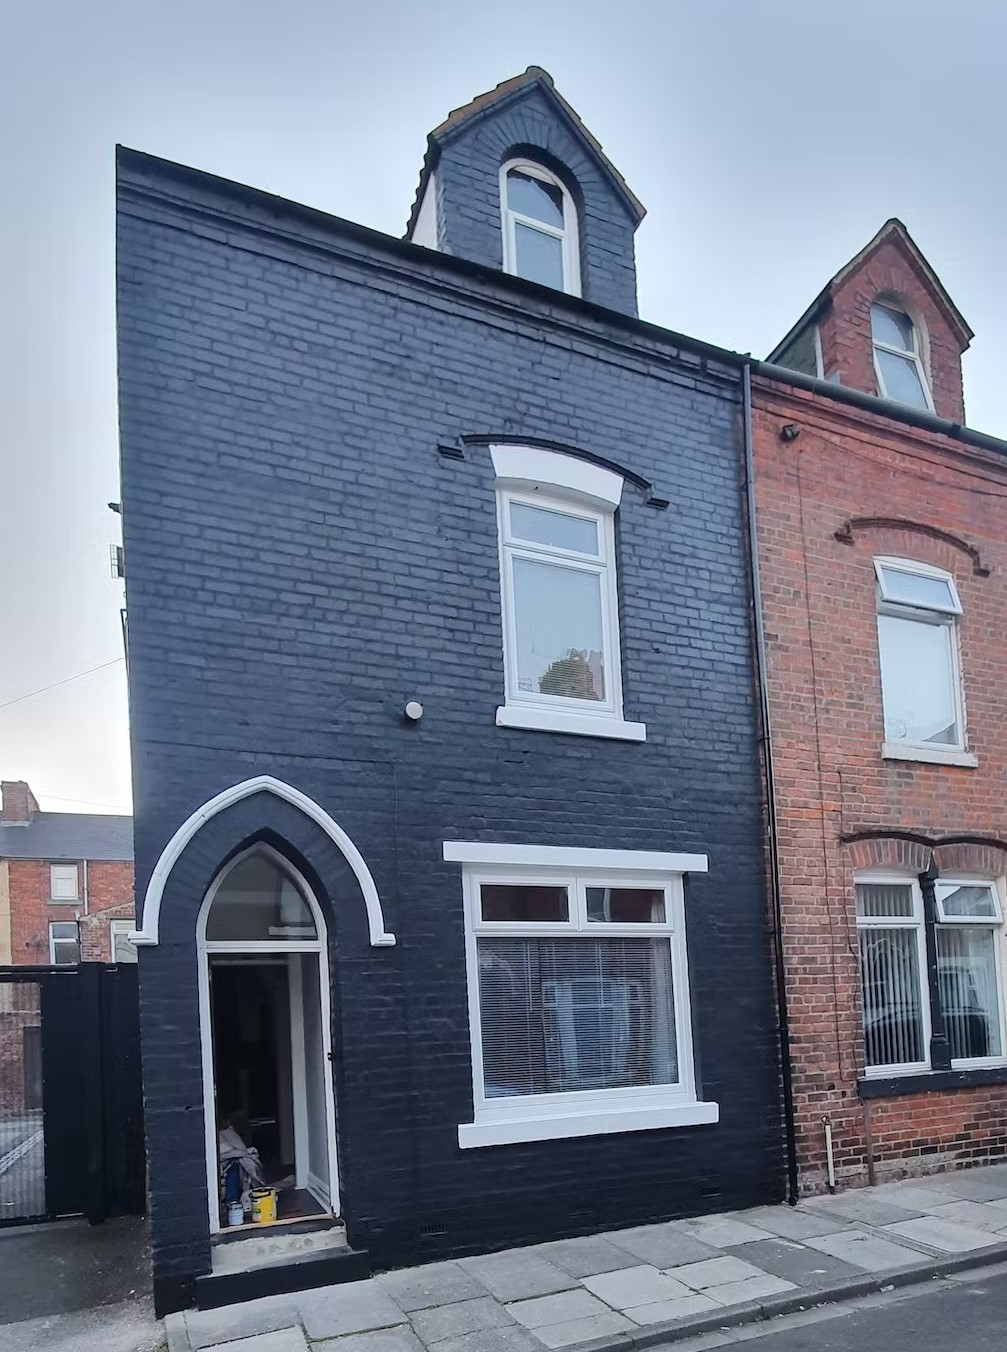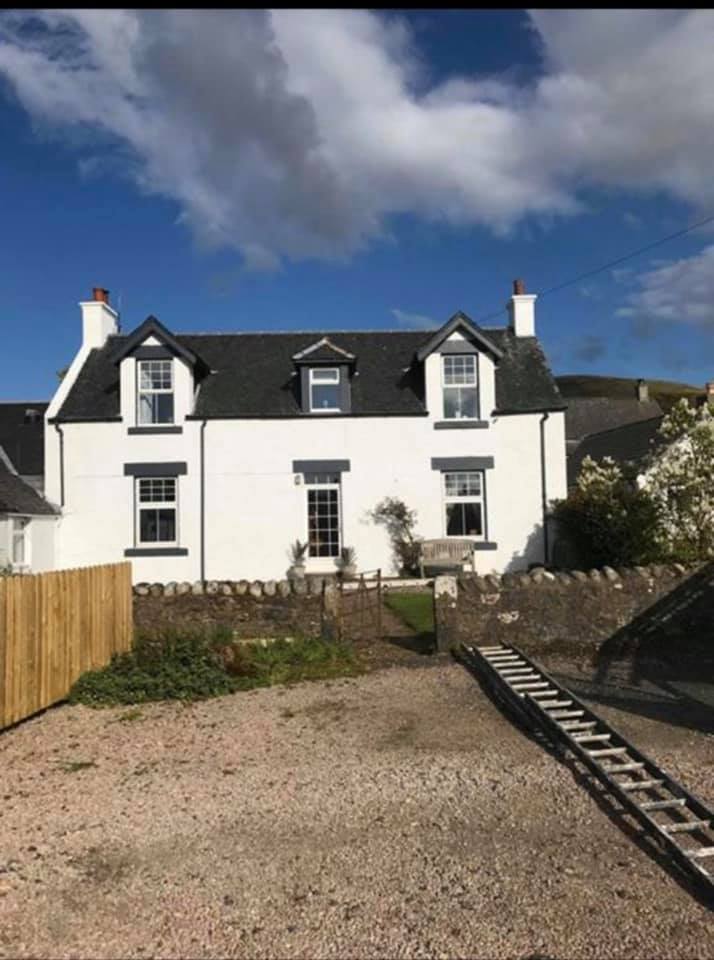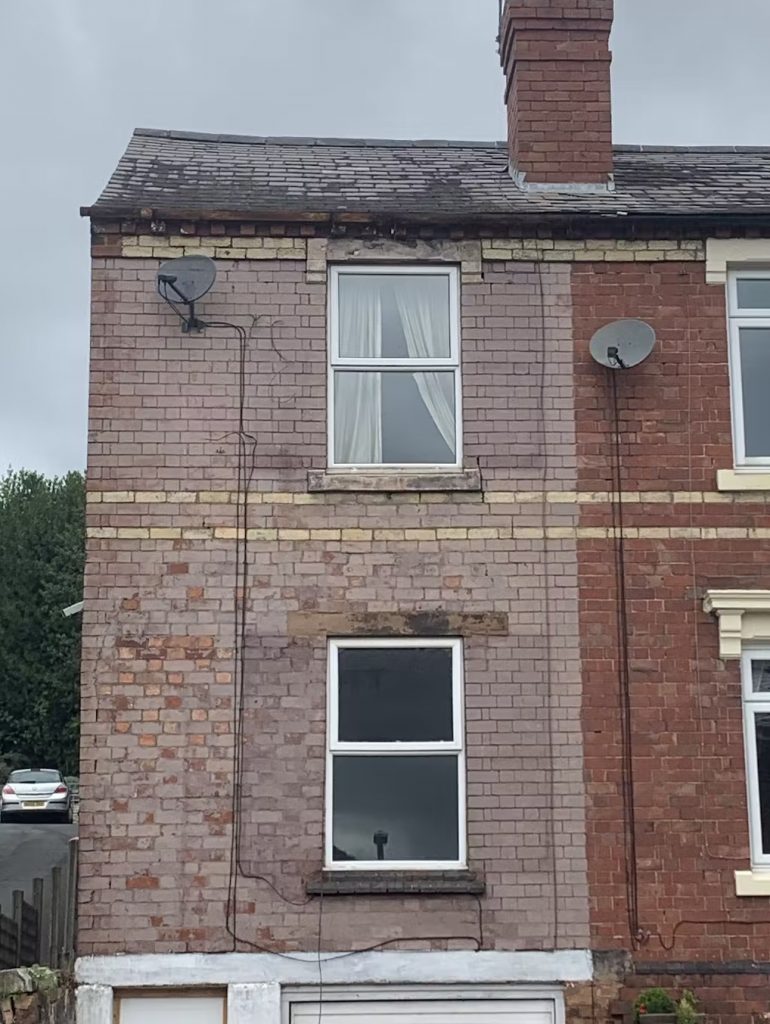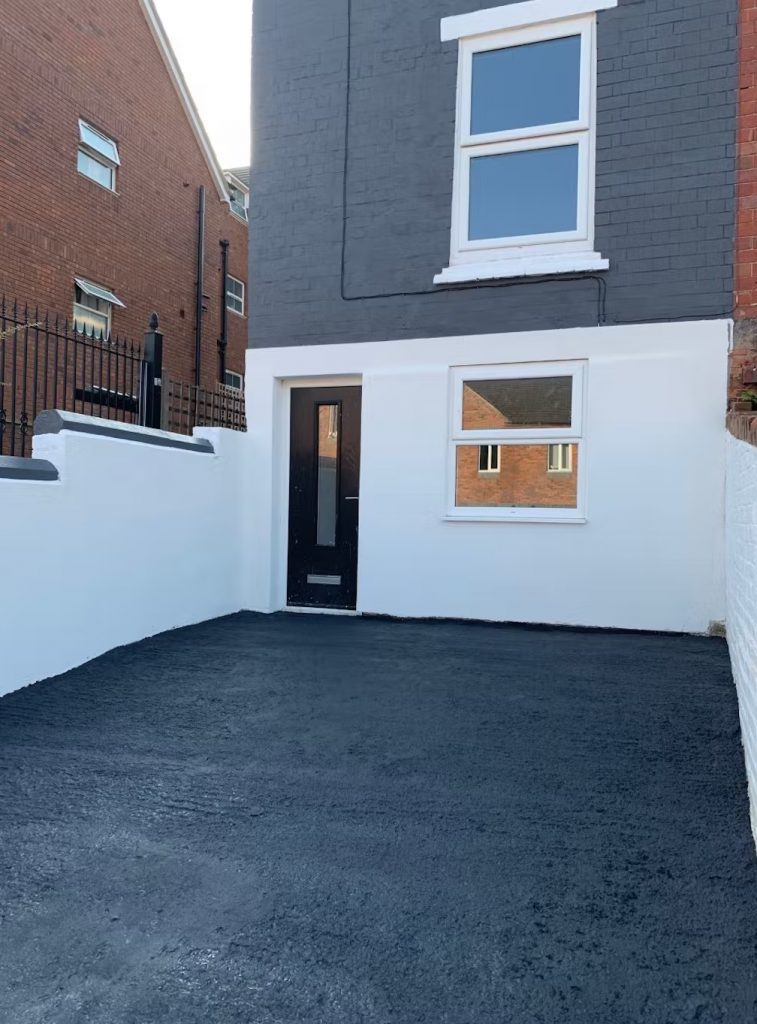
Let’s talk about outdoor masonry paint, spring is just around the corner, so now is the perfect time to look outside for your next big painting project. We often forget that the outside of our home needs some love every now and again; everything from our paths to our porches deserves a fresh coat of quality paint.
Painting masonry can be a tough job and can put off the inexperienced. Exterior walls, stonework and paths only need a new coat every decade, so it’s an easy job to put off. Don’t worry, Paintmaster are here to guide you through every step of the process; and tell you which is the best masonry paint for you.
What is the Best Paint for Outside Masonry?
For painting masonry, you need a paint that is hard-wearing, resilient and has a finish that will look good for a long time. There are 3 main types of paint to choose from:
Limewash Masonry Paint
Limewash is a traditional paint that is only used for lime render homes, which are usually heritage buildings. Using limewash is very laborious as many layers are required, so this option is only best if other types of paint would harm the masonry.


Silicate Masonry Paint
Silicate paint is extremely durable, resisting all weathers and looking great after years of wear. The solution contains potassium silicate, which means the paint doesn’t just coat masonry, but bonds with the breathable surface to create a tough matte finish.
The main downside of silicate paint is that, as it is professional grade, it isn’t cheap. It will get the job done, and the result will look great, but the third type of paint we’ll discuss might be a better alternative.
Acrylic Masonry Paint
For any exterior or interior painting project, acrylic paint is always a great choice. It’s beginner-friendly and comes in a range of finishes so you have more choice when it’s time for a fresh coat. Acrylic masonry is the best of both worlds when it comes to stonework, plaster, concrete and pebble-dash, and is what Paintmaster recommends for individuals and tradespeople.
How much Masonry Paint should I use?
The amount of paint you will need depends on the project, and more than just the surface area. You will need multiple layers for the best finish, even with silicate paint. Uneven surfaces like pebbledash requires a better estimate of the surface area. We always recommend buying more than you need, so you can test the paint and have extra to cover any mistakes or add an extra layer.
Masonry is also more absorbent than other surfaces; you will need more paint than for the equivalent interior wall.


How to Paint Outdoor Masonry – Step by Step Guide
Once you’ve chosen the perfect paint, and which colour and finish will look best, it’s time to start painting. If you aren’t sure about how the paint will look, try it out on an inconspicuous area first, giving it at least 24 hours to dry and settle.
This is important as the finish will look different at depending on the light level. Seeing a dry coat at all times of day will give you the best idea of how the finished project will look. Once you’re happy, move on to step 1.
Step 1 – Prep
As with all painting projects, you need to prepare the surface before you start.
First, you need to clean the surface as well as you can. This will remove dirt, grime, and old residual paint from the surface. Skipping this step will lead to an uneven finish.
For outside cleaning, a jetwash gets the best results. Otherwise, be ready to do a lot of scrubbing. Soap and water will get rid of plenty of caked-in muck, be sure to rinse off the soap well and leave it to dry before you continue.
Step 2 – Primer
Coating a surface with primer before you start painting gives you a better finish overall. It helps the paint to stick to the surface and is essential to get the most out of your paint.
Outdoor surfaces suffer through all weathers and a wide range of temperatures. This inconsistency can ruin a painted wall or path and leave them looking worn-out after only a couple of years. Using primer gives the paint extra thickness so it will survive harsh weather and look great for a long time.
Step 3 – Paint
Once your primer has dried, it’s time for the fun part. Use masking tape around the edges will give you the sharp lines that will make your freshly painted walls look amazing.
For applying outdoor masonry paint, we recommend using a long-pile roller. The long fibres will reach any dents, cracks and gaps so every inch gets a good coat of paint. This is especially important for pebble-dash as the surface is very uneven. Each layer needs to be equally thick for an even finish across the surface.
If you are painting a wall, gravity can be your biggest obstacle. Runoff can ruin the look of your finish, even on the first layer. Remove excess paint from your roller and test it on a small section so you can judge if you’re using the right amount. We recommend purchasing a new paint roller for each project, as used rollers may not give you an even finish if there is old paint stuck to the fibres. Too little paint can be damaging as well; keep the layers thick and even.
When painting the areas that your roller can’t reach, use a brush. This is also the best technique for edges and corners. Matching the thickness of the roller-ed layers can be tricky, just take your time and overlap the areas to blend it all together.
For tradespeople you can paint exterior surfaces using a spray machine. This is a fast way to get an even coat but isn’t for the inexperienced.
Your first coat of outdoor masonry paint should dry in a few hours. Being outside will dry it quicker than interior surfaces. If you’re painting in winter or spring, you may have one eye on the sky, this fast drying will help make the project less tense.
A quality masonry paint should give you a great finish in two coats. If you aren’t happy with the finish after the second has dried, a third will do the trick.
Once the final coat is dry, take a step back and enjoy your work.
More about Outdoor Masonry Paint
Exterior painting isn’t easy, but the results speak for themselves. It’s not a project you need to do very often, so be sure to enjoy it when you get the chance.
If you’re keen to get outside and paint your exterior walls and paths, trust Paintmaster to provide the best paint and painting accessories for the job.
For more painting tips, check out our blog for guides and advice for beginners and tradespeople. Or you can get in touch with any questions you may have. We look forward to hearing from you!
