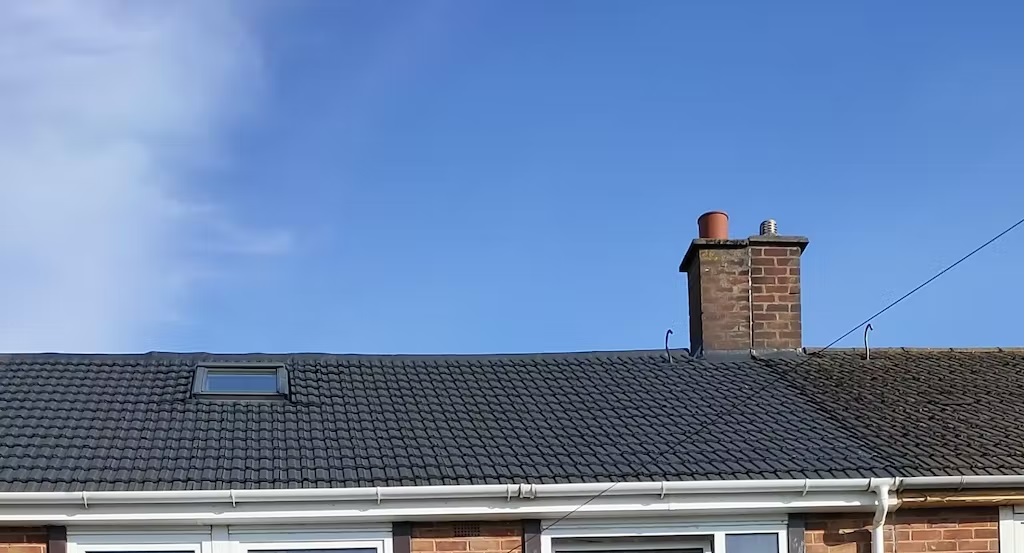
If you’re looking outside for your next big painting project, there are a lot of surfaces that deserve some attention. Walls, paths, driveways, decking and more all need a fresh coat of paint every few years to look their best. With Summer on the horizon, you’ll be spending more and more time outside, so now’s the perfect time to pick up a paint brush and do some exterior painting.
One painting project that many people overlook is their roof. It may be out of sight a lot of the time, but it needs some love too! Paintmaster are here to help you learn all about painting roof tiles, and how to get the best result.
Can you Paint Roof Tiles?
You certainly can! If you’re not a fan of heights, painting roof tiles might seem like a nightmare, but even beginner painters can give it a go if you do it safely. A safety harness will give you confidence, and plywood platforms and carpets can prevent any slips.
Most roof tiles are either clay or concrete and need to be approached differently. Concrete tiles are easier to paint, a fresh coat will revitalise the colour and cover any small imperfections.
Clay tiles, however, are much more porous, which means that even multiple layers of roof tile paint won’t result in the best finish. Roof coating is a specialist product designed to fill the porous surface and create a bold, even coat of your chosen colour.
Why Paint Roof Tiles?
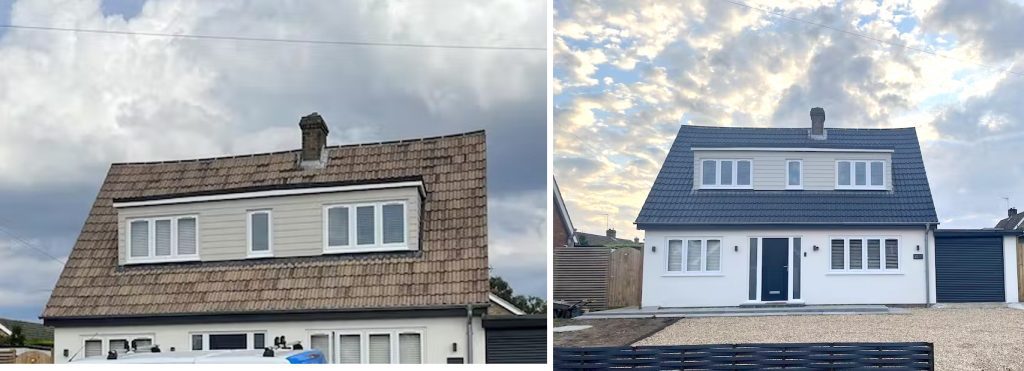
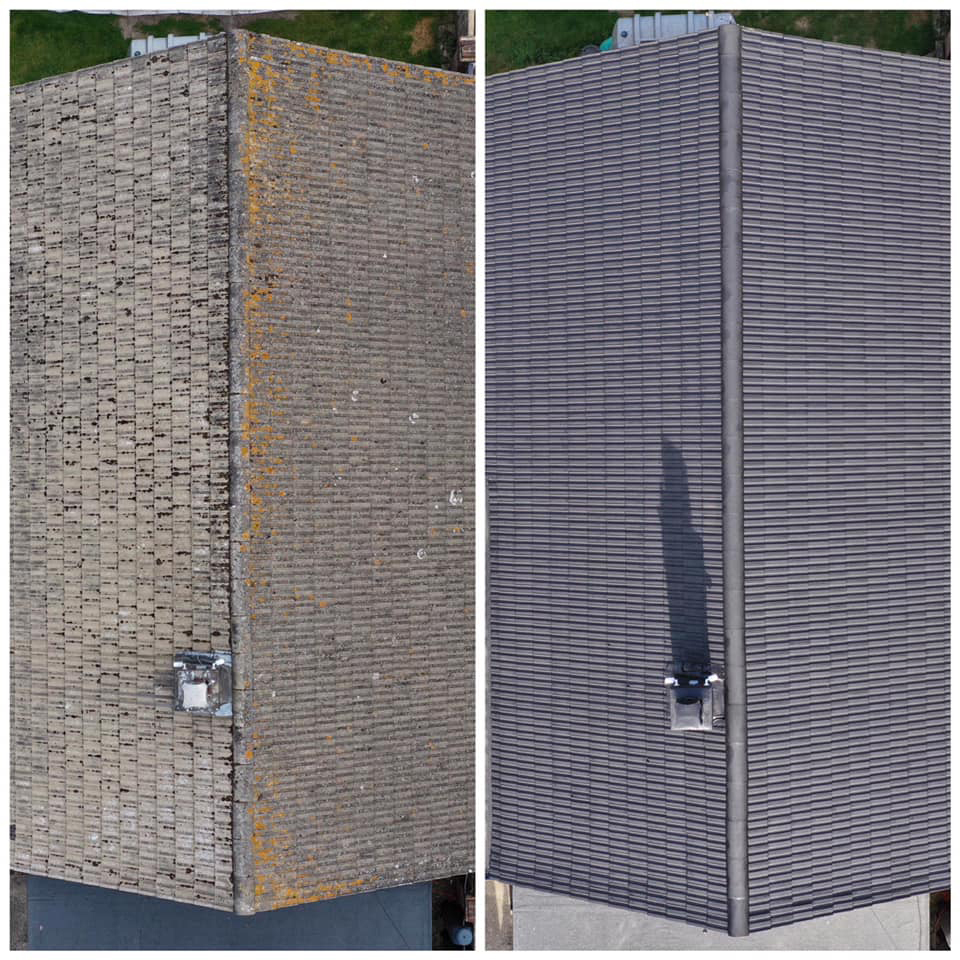
Freshly painted roof tiles don’t just look great. Using the right paint and primer can extend the lifespan of your tiles by up to 15 years; do it well and it’ll be a long time before they need painting again.
Some roof paints even help with insulation, saving you money on your energy bills. Added insulation also helps improve your carbon footprint, meaning there are multiple benefits. However, the initial cost of this specialist paint is high, so it can be a tricky decision to make.
The additional kerb appeal of a freshly painted roof won’t just make the neighbours jealous; it will also help when it’s time to sell your home. It’ll be one of the first things a potential buyer sees, making it well worth the investment.
What’s the Best Paint for Roof Tiles?
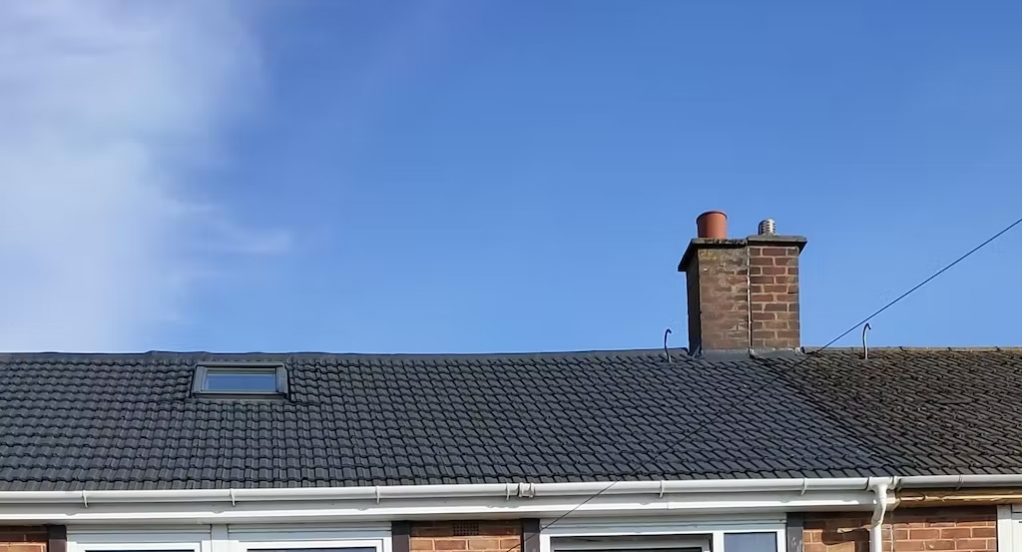
If you want a paint that is the best all-rounder, look no further than Acrylic Roof Tile Paint. It’s affordable, beginner-friendly and looks great for a long time. Specialist roof coating paint is great for commercial jobs, or if you have a large budget, but its benefits are mostly unseen. If you just want to make your roof tiles look their best, Paintmaster’s Acrylic Roof Tile Paint is the way to go.
Choosing acrylic paint for any painting project always gives you the widest range of colours. Here are the colours and shades currently available from Paintmaster:
- Black
- Charcoal
- Terracotta
- Light Grey
- Mid Grey
- Dark Grey
- Rustic Red
- Dark Green
- Vandyke Brown
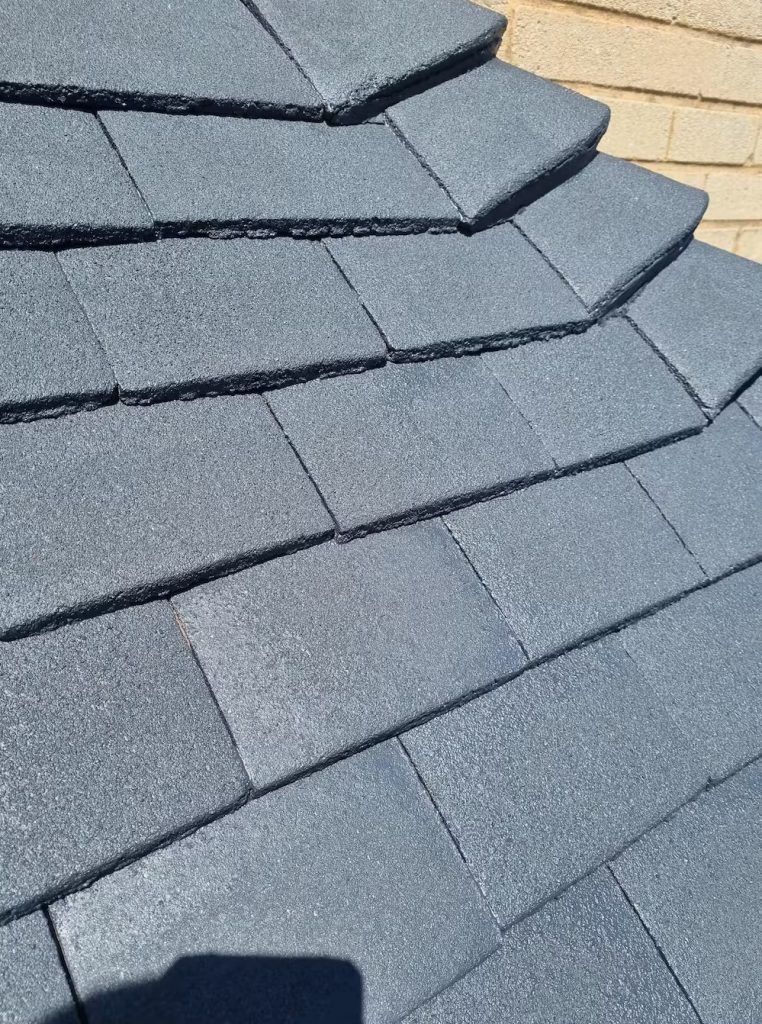
With so much variety, you can be as bold as you’d like with your roof tiles or keep it traditional with a muted shade that still looks amazing. You may only need a single layer of paint, but we always recommend buying enough for two layers at least.
For the best finish, a quality primer is just as important as the paint. If you prime any surface before painting, you get a smooth finish and add toughness to the surface. Roof tiles that have been painted before will benefit less from primer, but it is still recommended and essential for bare tiles.
How to Paint Roof Tiles
PART 1 – Get Everything Ready
Painting a roof needs more safety equipment than any other exterior painting project. Before you start, make sure you have the following:
- Ladder(s)
- Safety Harness
- Suitable Footwear
- Plywood
- Old Carpet
- Plastic Sheeting
We don’t recommend skipping any of these items, even if you’re only painting porch roof tiles. It’s also a good idea to have someone else present to help you navigate the roof from the ground, hold ladders, and pass you equipment.
For the painting job itself you’ll need:
- Paint
- Primer
- Paint Sprayer*
- Brush
- Masking Tape
- Rust Remover
- Pressure Washer/Hose and Scrubbing Brush
*A long-handled roller works too
PART 2 – Safety Preparation and Cleaning
Weather Forecast
Once you have everything you’ll need, make sure you have good, dry weather for at least 2 days. This will give you plenty of time to get the roof tiles cleaned, primed, and painted without having to rush any steps.
Make the Roof Safe
Attach your safety harness and use the old carpet, plastic sheeting, and plywood to make safe, non-slip platforms to work on. Good quality boots are essential too for when you’re navigating the tiles.
Move your platforms from section to section so you don’t damage your tiles with excess foot traffic.
Clean the Tiles
Next, you need to get the tiles as clean as possible. A pressure washer will remove any dirt, grime, moss and more from the surface, making it ready to paint. Use a moderate setting only and try not to keep the jet aimed at tiles for longer than needed as high pressure can damage older tiles. If you’re unsure about whether your tiles are safe to pressure wash, consult a professional before you begin.
If you don’t have a pressure washer, or don’t want to risk damaging the tiles, you can get the same result with a hose, scrubbing brush and some elbow grease. Keep in mind that this will take longer.
Take extra care when the tiles are wet, so you don’t slip, and try to keep your platforms dry.
Remove Rust
Use your rust remover on any patches you see, however small. Rust will stand out against your fresh paint; get rid of as much as you can.
PART 3 – Priming and Painting
When the surface has dried and the rust has been removed, check the surface carefully for damage. If any tiles are split, cracked, or missing, you will have to postpone the painting until they are repaired and replaced. Leaks and weak areas will also need fixing.
To check if the surface is clean, use a line of masking tape on each section. If any grime or debris is attached when you remove the tape, the surface still needs cleaning. If it’s spotless, you’re ready to move on.
Apply Primer
As mentioned before, a quality primer will guarantee a perfect finish. Use your paint sprayer, paint brush, or roller to add 2-3 layers of primer to the roof tiles.
It helps to separate the roof into sections, use your tape to mark them out.
Leave each layer to dry. In warm weather it should take around 2 hours. When the final layer is dry, it’s time for the fun part.
Painting
If you’re using the same sprayer than you used for primer, clean the hose thoroughly with paint thinner before filling it with your paint.
Again, split the roof into sections using tape and adjust your plywood platforms, carpets, and ladders accordingly.
Apply an even layer of paint, making sure to overlap each line by an inch to avoid any gaps. Take your time, or you’ll have an uneven finish.
One coat of paint may be plenty if you’ve used enough primer, but don’t be afraid to add a second if you think the layer is too thin.
If there are areas you can’t reach with your paint roller or paint sprayer, use a paint brush to fill them in. The edges around guttering are the easiest to miss.
STEP 4 – Admire Your Work
Once the final layer is dry and you’ve brought everything down from the roof, take a few steps back and admire your hard work. How does it look?
If you have any extra paint, keep it for any future touch-ups.
The UK’s Most Trusted Paint Supplier
If you’d like to know more about exterior and interior painting, check out our blogs for tips, tricks, and guides about every type of painting project.
Please get in touch if you have any questions about our products or need any advice.
We look forward to hearing from you.
FAQ's
Can I paint my roof tiles with a brush?
You can use a paint brush, paint roller, or paint sprayer for your roof tiles. If they are large, a roller or sprayer will cover them in an even layer quickly, but you’ll need a brush for the fiddly and hard-to-reach areas.
Do I need to prime tiles before painting?
Applying a layer of primer before you paint will help create a smooth surface for the paint to cling to. This will make your colours look bolder and extend the lifespan of your tiles.
How do you prepare roof tiles for painting?
Before you paint, you need to clean your tiles as thoroughly as possible. Any dirt will show through even multiple layers of paint. If your tiles are damaged or too worn out, you should repair or replace them before you commit to painting.
Is painting roof tiles a good idea?
Removing and replacing roof tiles is both costly and time consuming. Painting them not only makes them look like new but can also reduce energy costs and improve the kerb appeal of your home when it’s time to sell.
Which paint is best for roof tiles?
Our acrylic roof tile paint is the best for any roof tiles. It comes in a wide range of colours that suit any style, and offer maximum protection from wind, rain, and damage.
